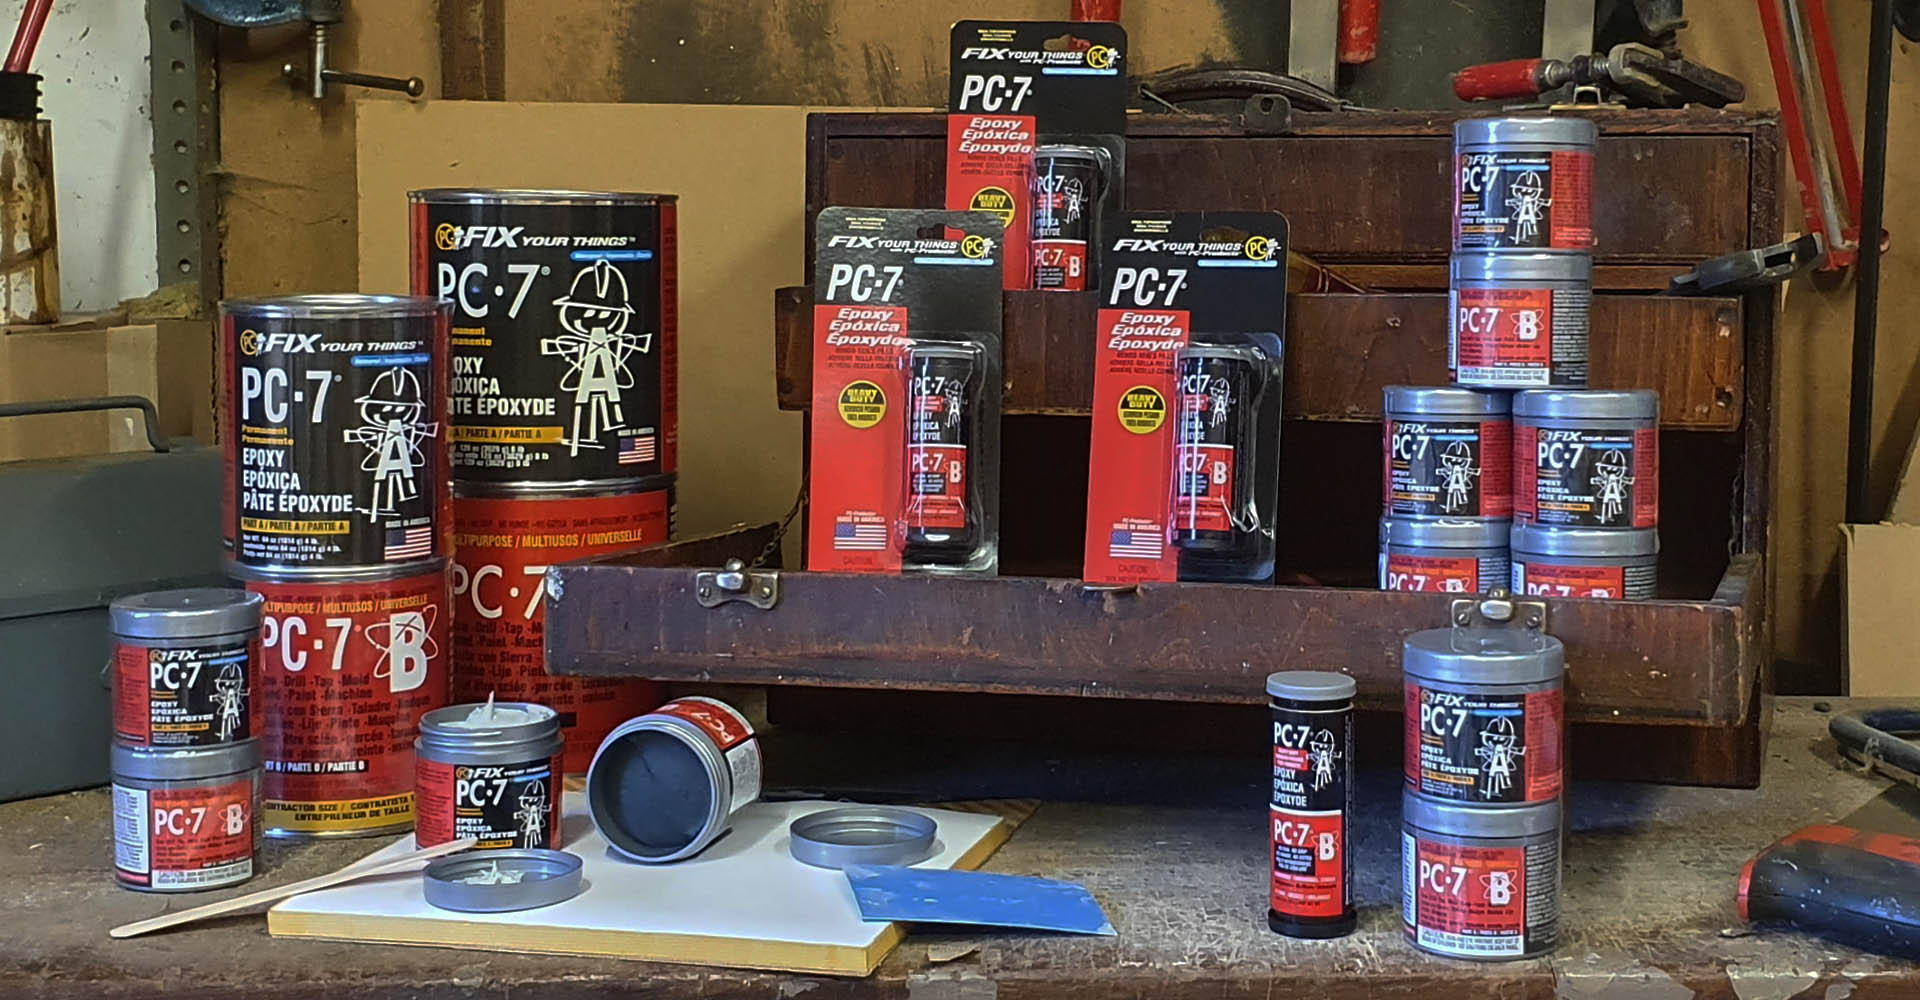
The original tough job epoxy
PC-7®
PC-7®
paste epoxy
SKU:027776
Couldn't load pickup availability
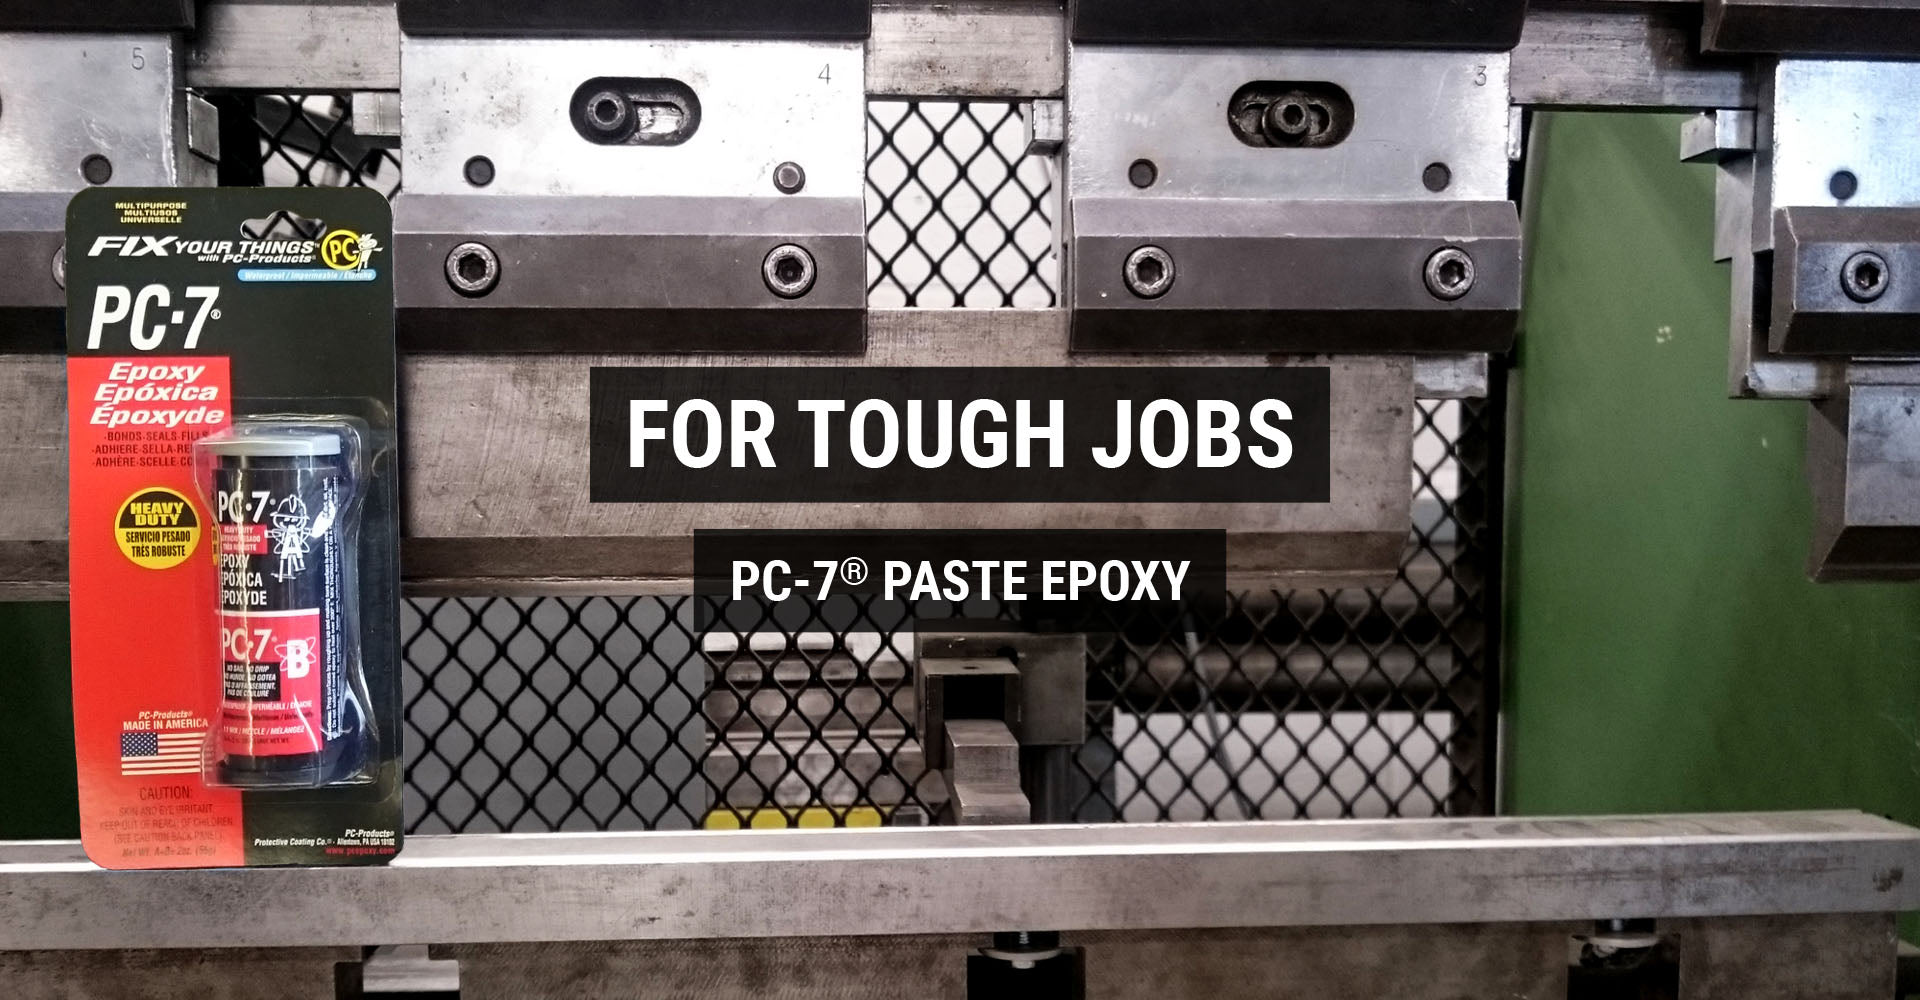
PC-7® is the original tough job epoxy! This paste epoxy was originally formulated more than 60 years ago for the maximum in bonding power. Professionals to the do-it-yourselfers select PC-7® because of its exceptional adhesion to metals, ceramics, masonry and many plastics.
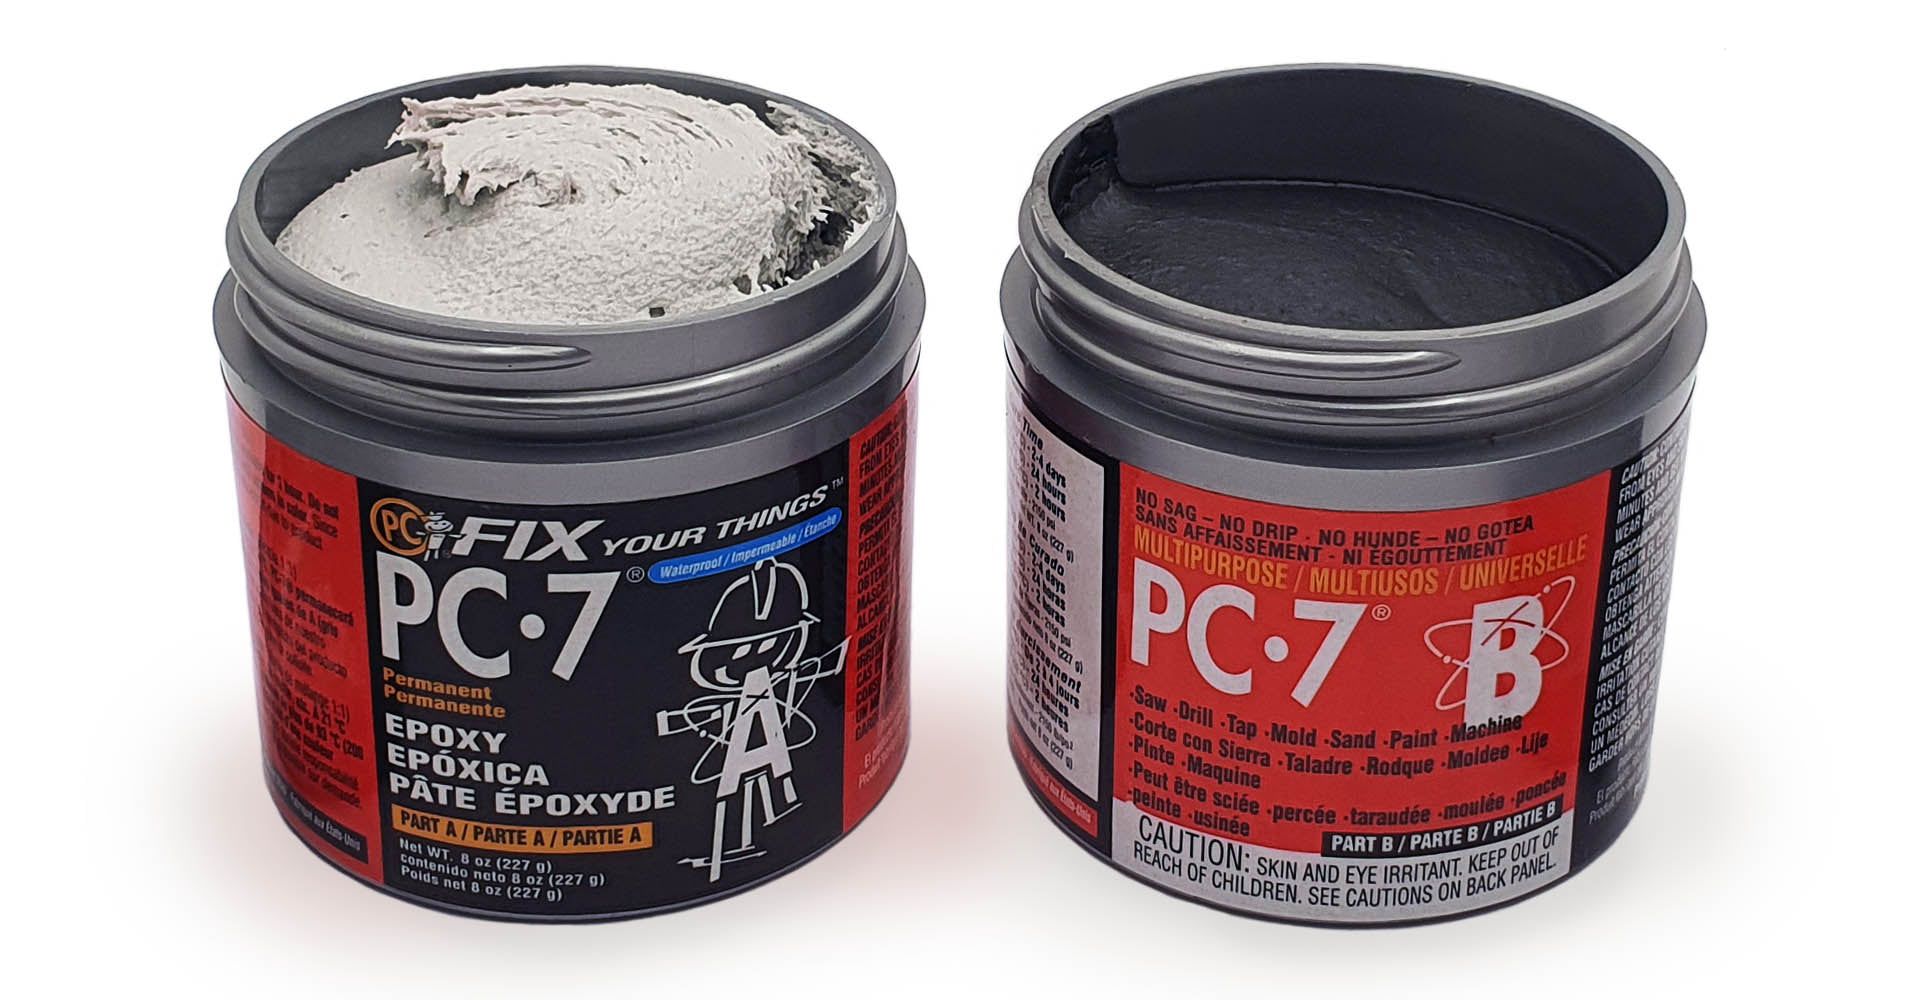
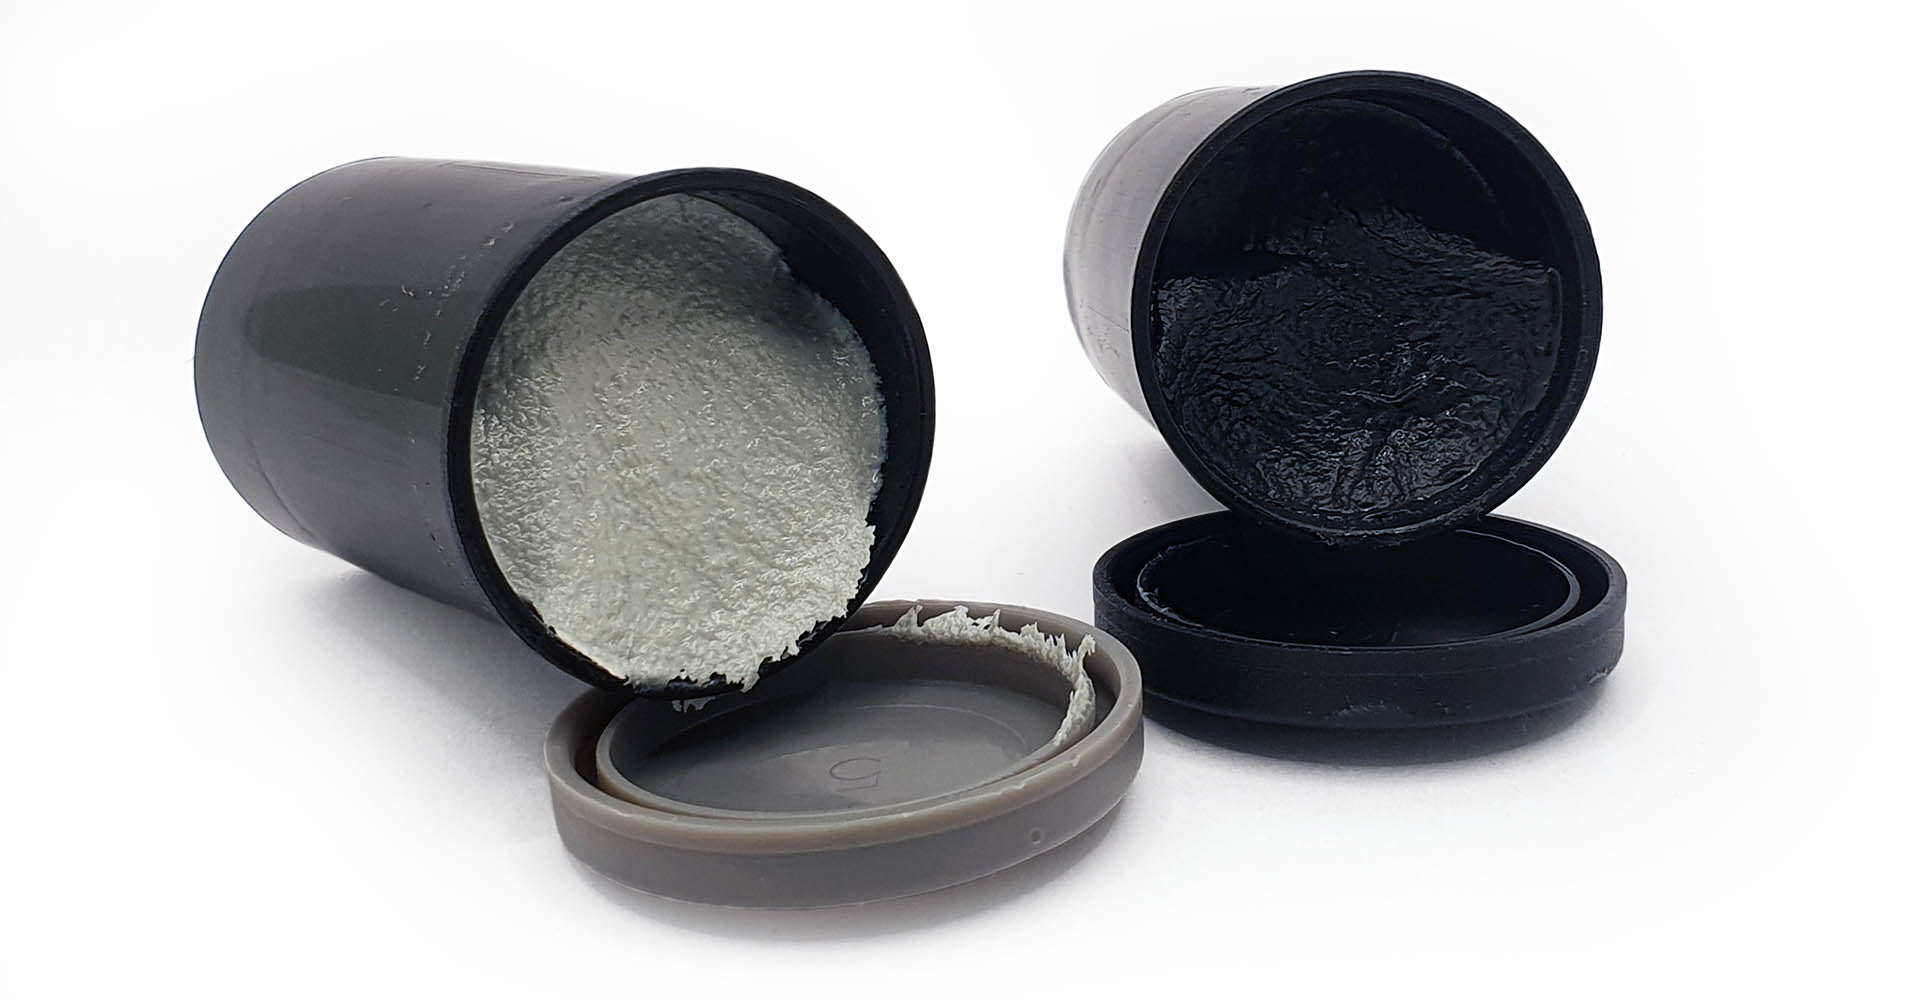
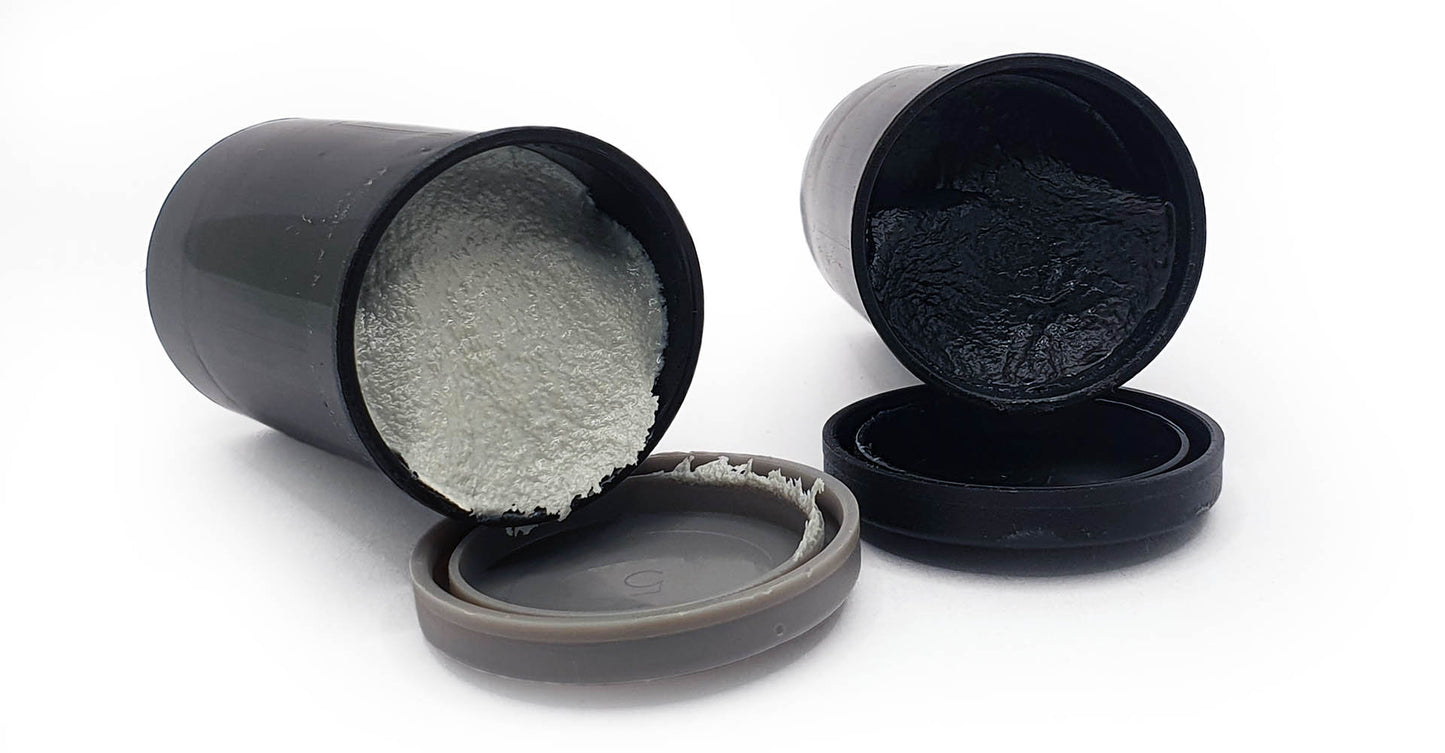
PC-7® is designed for permanent repairs. Where other adhesives fail…PC-7® won’t! Choose PC-7® if you want to: seal a crack in a wall, attach a hanger to a ceramic plaque, seal a leak in an oil pan, repair a granite monument, fix a leak in PVC pipe connection, create a multimedia sculpture, and thousands of other repairs. When mixed, part A (grey) and the hardener part B (black) react to form a bond of tremendous strength. The PC-7® formulation is slow curing, but slow can be a good thing especially for large tasks.
WORKING TIME: 60 MINUTES
CURE TIME: 24 HOURS (48 HOURS FOR FULL CURE)
PC-7® is thick. Thick is good if you need to work vertically or want to hold an object in place. How thick? Thicker than peanut butter but not as thick as bubble gum.
Share
-
Properties
- Extended working time to allow repositioning
- No drip or sag, even on overhead work
- Excellent chemical resistance to mild acids, caustics, detergents, gasoline, fuel oil, salt, and fresh water
- Non-conductive
- Waterproof
- Sandable and paintable
- Use as an adhesive, sealant and filler
-
Use on
PC-7® can be used on fibreglass, concrete, wood, metals, glass, block, ceramics, some rubbers and plastics, and more.
YES to SBR, Buna and polyurethane rubbers, and rigid PVC, CPVC, polyester, fibreglass, polyurethane, ABS and Bakelite.
NO to EPDM, vinyl or neoprene rubbers, or polyethylene, polypropylene, HDPE, polystyrene, nylon, acrylic, Teflon, polycarbonate. plexiglass or wax paper.
-
Example projects
- Bond and repair stainless steel
- Attach transition strips on concrete floor
- Attach firing strips to concrete wall
- Bond to and rebuild hard rubber bumper
How to use PC-7®
Prep
Prepare your surface as best you can to ensure the best possible bond with PC-7®. Remove contaminants such as dust, dirt, oil and grime with a solvent such as methylated spirit, acetone, rubbing alcohol (isopropyl alcohol) or lacquer thinner. Mild detergent solution in water is also good for removing contaminants. Use a clean paper towel or rag for wiping. Do not use white spirit or paint thinner for removing contaminants.
Remove rust and loose paint with sandpaper or wire brush. Epoxy typically sticks to most paints. If there’s a concern of the paint’s adhesion then remove it with sandpaper or wire brush.
Smooth, glossy and shiny surfaces should be roughened using sandpaper to increase adhesion.
For outside repairs, be mindful of the temperature. Working outside or in a garage with a temperature of 10°c – 16°c may double the length of time until full hardness (over 48 hours). PC-7® will not cure at 5°c or below (curing will pause, resuming as temperatures improve). You can apply heat via a heat lamp to gently warm the repair. Heat guns and hair dryers should be used with caution because they can be too intense.
Mixing
PC-7® has a work time of 60 minutes so only mix as much product as you think you can apply in this time. You will be able to apply more to continue filling across an area, PC-7® sticks to PC-7®.
PC-7® has a consistency thicker than peanut butter but not as thick as bubble gum.
To mix PC-7® you’ll need a spatula, putty knife or similar (something stiff) and probably a piece of scrap wood, cardboard or similar to mix on. We don’t recommend mixing in a cup or container as it can be hard to judge the % of parts. If the repair is outside and the weather is cool we’d recommend placing the tubs somewhere warm to reduce the viscosity.
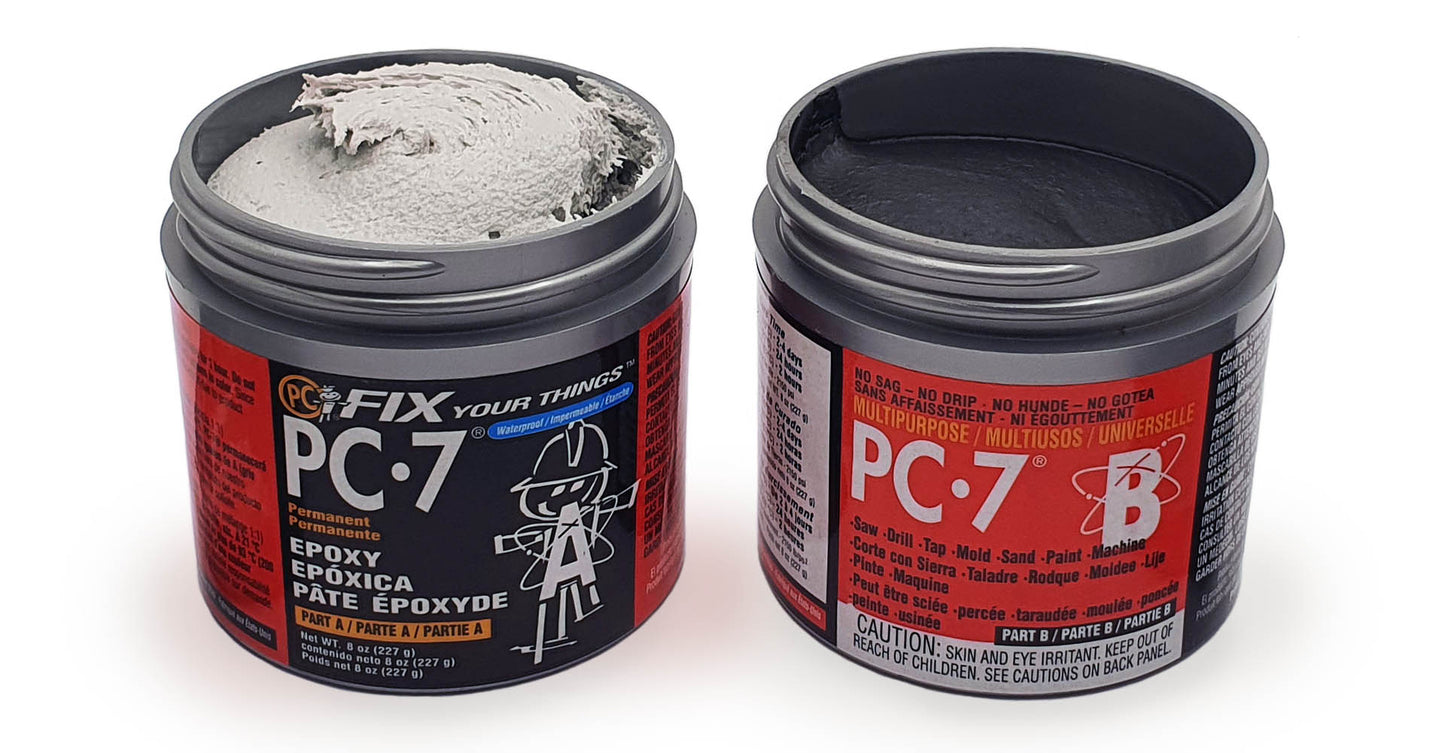
It is best to mix PC-7® in equal parts, one part A (grey) to one part B (black). Adding additional hardener (part B) does not make PC-7® cure faster. However, PC-7® is probably the only epoxy that does not require precisely a 1:1 mix ratio. Plus or minus 25% of part A or B does not affect the performance. Adding additional PC-7® part B (black) can improve the adhesion to difficult surfaces such as PVC pipe and fittings. Measure equal volumes of part A and part B, then measure an additional half portion of part B. This will make the mix ratio 1:1.5 A:B.
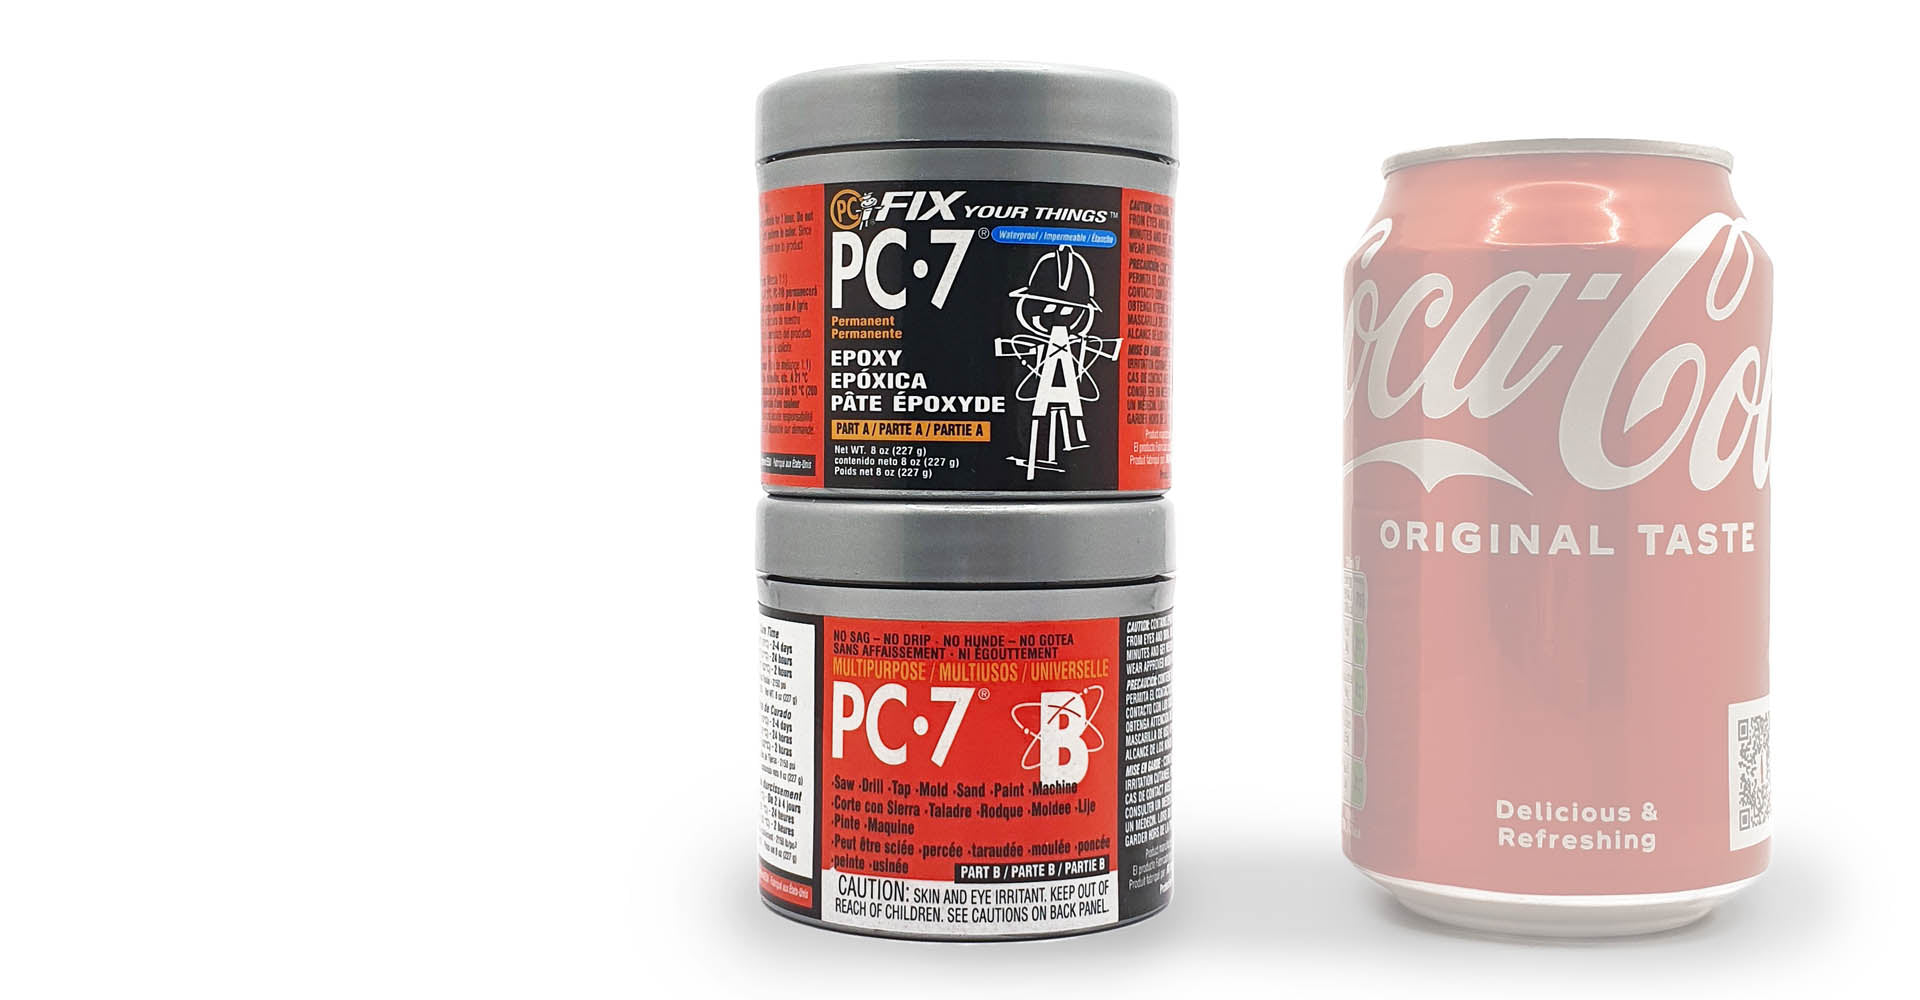
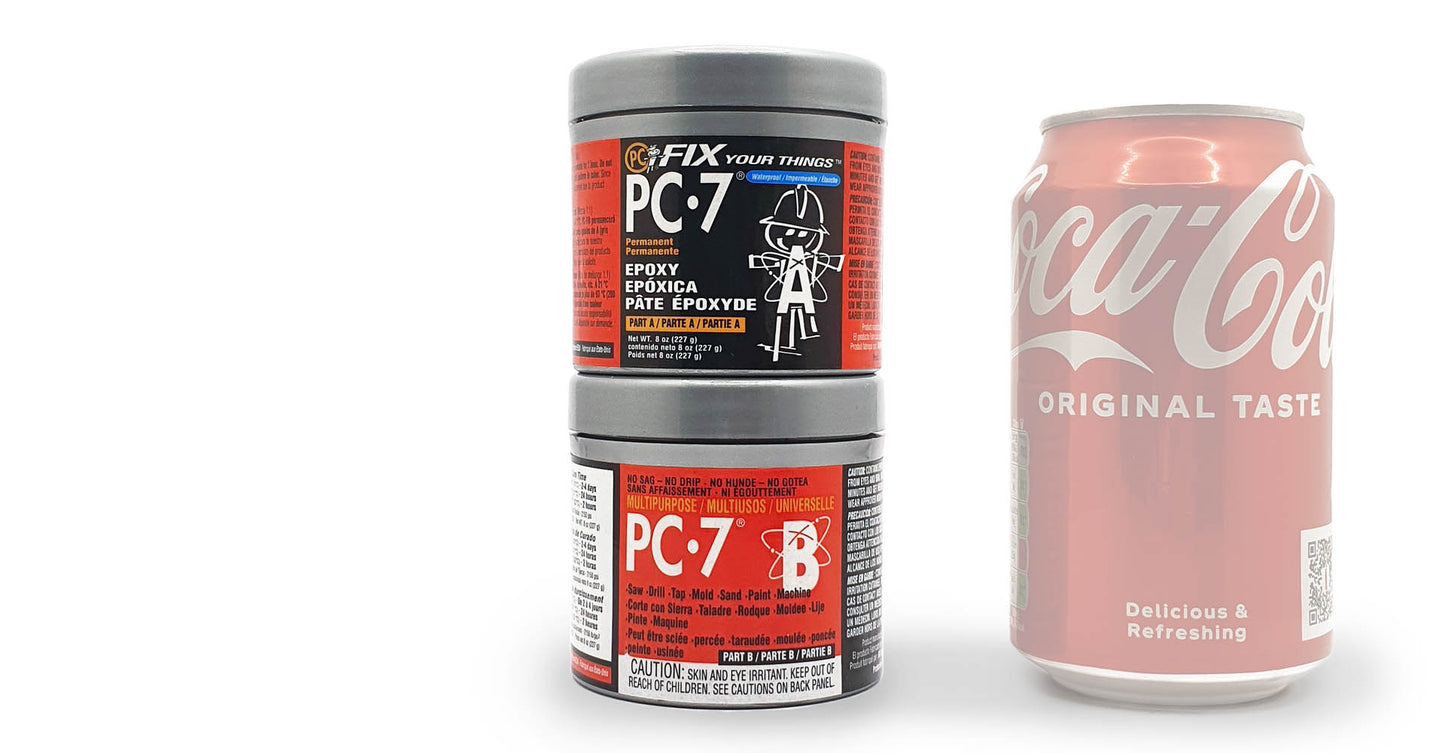
If purchasing a larger size you will have two tubs. We generally recommend eyeballing the amounts but if more precise measurements are desired, based on an average net weight it is 116 grams part A to 100 grams part B.
Eyeballing tip: Make a circular mound (like half a golf ball) of part A. Alongside but not touching, make a rounded mound of the same circumference, adding or taking away until the height matches the mound of part A.
When properly mixed the epoxy will all be one consistent colour.
Remember to use a different spatula/tool in each tub or wipe it off with methylated spirit on a cloth/kitchen roll in between! This will ensure that the rest of the tubs remain good and uncured for future use. Store in a cool location.
PC-7® is very thick. To smooth applied PC-7® use a solvent such as methylated spirit, acetone, rubbing alcohol or lacquer thinner. Because it is very thick and gooey it is necessary to apply solvent to the tool or gloved fingertips in order to lubricate the surface and shape or feather the applied epoxy.
Tinting
Underwater & Wet Use
Clean Up
After using PC-7® clean up using methylated spirit, acetone, rubbing alcohol (isopropyl alcohol) or lacquer thinner to clean tools and mixing surfaces before PC-7® cures.
Clean hands and skin with soap and water.
Cured epoxy can be removed by applying paint remover or paint stripper to soften the epoxy surface. Scratch off the softened epoxy. Repeat as needed.
Finishing
After PC-7® has fully cured it can be sawed, sanded, tapped, drilled, machined, filed and painted. We recommend allowing 24 hours to cure at 20°c (longer at cooler temperatures). It should reach full hardness in 48 hours. See the Prep section for more information on curing in cool temperatures.
We recommend applying a stain-sealing primer/sealer to the repair before painting. A primer/sealer is essential if you are applying gel coat.
Downloads
Product Comparison Chart
Not sure which PC epoxy is right for your project? Take a look at our product chart for a quick comparison of some the key features of each our epoxies.
| HEAVY | CLEAR | PUTTY | WOOD | ||||||||||
 |
 |
 |
 |
 |
 |
 |
 |
 |
 |
 |
 |
 |
|
| PC-7® | PC-11® | PC-Auto Bond™ | PC-Super Epoxy® | PC-Clear™ | Tite-Chairs® | PC-Metal™ | PC-Marine™ | PC-Plumbing® | PC-Fahrenheit™ | PC-Woody® | PC-Petrifier® | PC-Rot Terminator™ | |
| Waterproof after cure | ✔ | ✔ | ✔ | ✔ | ✔ | ✔ | ✔ | ✔ | ✔ | ✔ | Limited | ✔ | |
| Apply to wet surface | ✔ | ✔ | ✔ | ✔ | ✔ | ✔ | |||||||
| Tintable | ✔ | ✔ | ✔ | ✔ | |||||||||
| No drip or sag | ✔ | ✔ | ✔ | ✔ | ✔ | ✔ | ✔ | ✔ | ✔ | ||||
| NSF® rated | ✔ | ✔ | |||||||||||
| Fill characteristics | ★★★★ | ★★★ | ★★★ | ★★ | ★★ | ★★ | ★★ | ★★ | ★★★ | ★ | |||
| Strength | ★★★ | ★★★ | ★★★ | ★★★★ | ★★★ | ★★★★ | ★★ | ★★ | ★★ | ★★ | ★★ | ★★ | ★★★ |
| Work time @ 21°c | 1 HR | 35 MIN | 8 MIN | 15 MIN | 4 MIN | 1-5 MIN | 3 MIN | 20 MIN | 3 MIN | 8 MIN | 30-40 MIN | 1-4 HR | |
| Service time @ 21°c | 12-24 HR | 8-15 HR | 1 HR | 3-4 HR | 1 HR | 15-30 MIN | 1 HR | 1HR | 1HR | 1HR | 12-24 HR | 24 HR | 3-7 DAY |
| Heat range | -30°c to 90°c | -30°c to 90°c | -30°c to 150°c | -30°c to 90°c | -30°c to 90°c | -55°c to 85°c | -30°c to 120°c | -30°c to 120°c | -30°c to 120°c | -30°c to 260°c | -30°c to 90°c | 0°c + | -30°c to 90°c |
| Tensile strength | 2150 PSI | 1710 PSI | 1700 PSI | 2650 PSI | 2300 PSI | 4000 PSI | 900 PSI | 700 PSI | 900 PSI | 700 PSI | 850 PSI | ||
| Colour | Dark grey | Off white | Metallic grey | Translucent | Clear | Clear | Dark grey | White | Grey | Brown | Tan | Milky white | Amber |
Imperial or Metric?
We got you...
1oz = 28g | 2oz = 57g | 6oz = 170g
1/2lb = 8oz = 227g | 1lb = 16oz = 454g
4lb = 64oz = 1.8kg | 8lb = 128oz = 3.6kg
